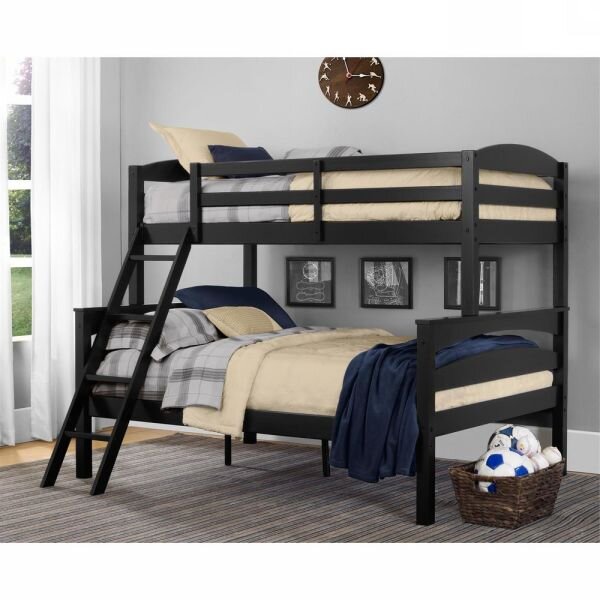
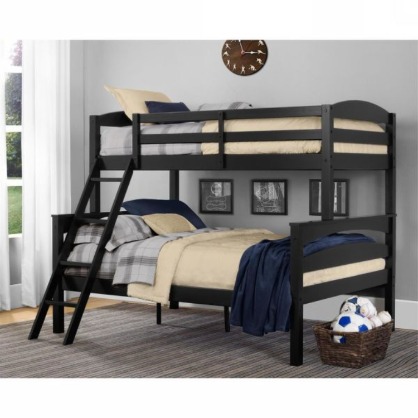
Twin Over King Bunk Bed Blueprints - The Advantages of Building Diagrams
You can use whatever cord, ribbon or fabric you think would look good and be strong enough to hold your cushions in place. Use spare 2 x 4s to hold these in place. Think small and you could fill a short wall with just a few boxes. An easy solution is to hold the parts in alignment with a few strategically placed brads before you apply clamps. Turn on the router and gently guide it into laminate, making a counterclockwise trip around the worktop. Note that breadboard ends are slightly wider than tabletop. (https://woodcraftdiagrams.com/diy-loft-bed-with-desk-stairs-plans-blueprints) With edge banding face down on your bench, carefully trim excess with a utility knife.
This easy-to-make sanding box really swallowed dust in our tests. Plate joinery is a fast way to make face frames. For a rustic planter, a jigsaw would do, and parts can be assembled with sawn, rather than planed, edges. And because these products move less, they provide a better surface for paint. To slow down hardening, use cold water only. The beams get two shoulder cuts per notch. You'll lift sanding dust from the grain and burnish and shine the surface fibers. If you're wild to complete cabinet in one shop visit, go ahead and assemble it, then stain and finish it afterward.
Stakes and string always seem to get in way, so mark the turf with spray marking paint, which is available at hardware stores. The bond is immediate, leaving no possibility of readjusting. Install top glide support and top glide so support is level and flush to the top of the (this) frame opening. Place those pieces son table in the location planned for fourth leg, then scribe the space in between. Follow the cutting list for dimensions of box top and bottom, box sides and nailer strip. Caps are available in a variety of colors and timber finishes. Knotty pine would be harder to work with and to paint well.
The grid work provides solid, even support for sawing or finishing. Steel scrapers work great-for the first few minutes. This basic version of built-in shelves is easy to build and install. Lift front and back lintels onto tops of the posts and push them back until they're flush with posts. Match the arbor to your saw and check that it would fit in your drill. You have a little window of time when the two pieces you're joining can be slid sideways into perfect alignment. If layers of flooring have been added since the cabinets were installed, you'll have to pull top edge of the toe-kick outward first and then pry it up to clear the built-up floor.
Trowel on thin coats until you've got a smooth, flat surface. You could hide scratches with permanent-ink felt-tip markers. If you buy lumber at a home center where the stuff is reasonably dry and stored inside, you can usually assume it'll hold its shape. You'll have a large workspace that folds up and takes very little room to store. And we've got just cabinet for the job. If you custom-size the niche to fit between full tiles, you'll get a better-looking installation and avoid some cutting. When mitered to 10 degrees, ends of the stiles won't match up evenly. Spread exterior wood glue in slots and on biscuits.
Take photos of various patterns, then compare the photos to decide which arrangement works best. To install the anchors, check instructions and drill right size hole. And that's just what most builders give you-one measly outlet for all your tools and toys. Leave the screw heads flush with the surface to avoid pockets where water can pool and penetrate wood. Make a mark at this position on each post, and rip them to length. Cut back floorboard to fit and nail it in. For tapered-shank timber screws, use a countersink fitted with a tapered-shank bit. You want to provide shelter large enough so your pet can easily enter it and turn around, but small enough so your dog's own body heat can warm the place.
And dog and cat food dispenser allows you to get those bulky food sacks off the floor and tucked away. Any glue drips would easily peel off the plastic surface after they dry. The vials were rip to length and then hand drilled with a brace and bit. We used a finish nail gun, but you can also drill pilot holes and attach the moldings with trim nails. Don't apply edge banding on edges that butt into other parts. Line the backs of frames with wide masking tape. Keep in mind that a heavy truck can damage your yard and driveway.
Just glue and tack spacers into place, then glue and nail on the rails and stiles. Wood would not vary in length much at all. It's important to keep track of orientation of the parts.